Andrew and I have been playing Zombicide, a Kickstarter co-op board game, over last the year introduced to us by Debbie and Gabe. There was a second Kickstarter with game expansions which we got shortly before Christmas. It’s hard to play often because the games are different each time and can be long, BUT it also take a while to setup and sort through all the pieces. After looking at a few ideas of Zombicide storage online we’ve come up with a solution that keeps everything organized and hopefully makes it easier to play (not to mention now we store this single box instead of 3 boxes each the same size as this one).
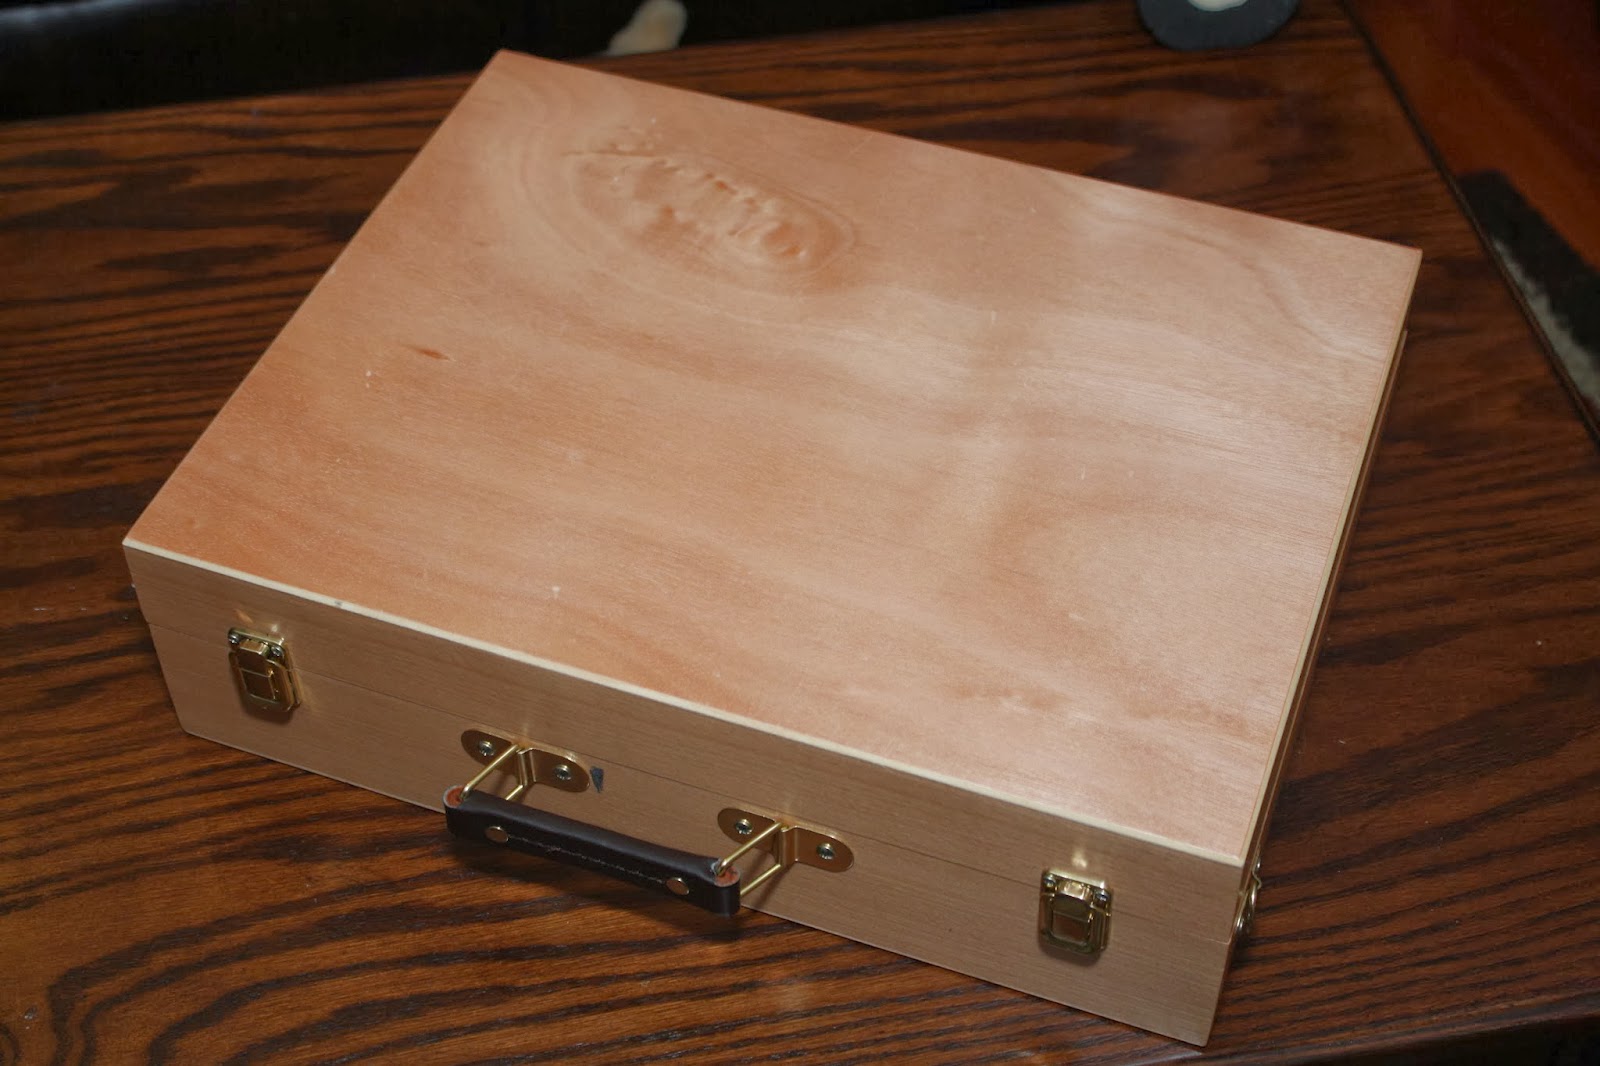
We ordered this box online from Hobby Lobby. We removed the palette and frame that come inside.

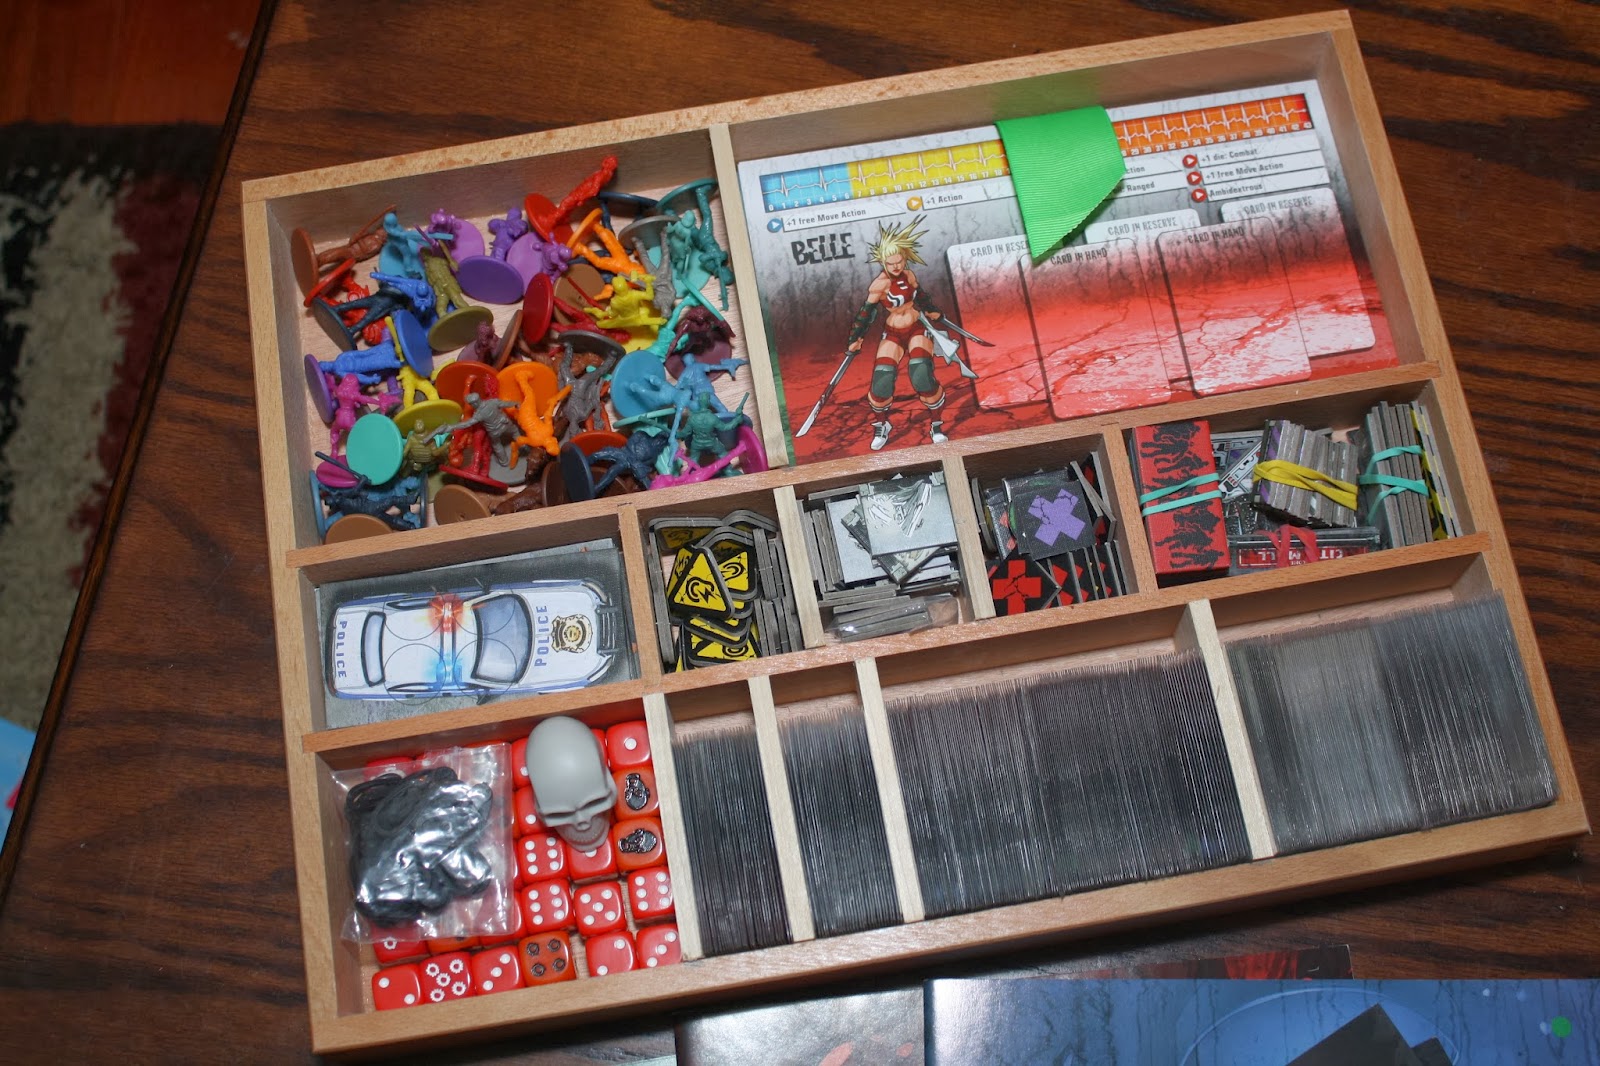
We bought wood to cut extra dividers for the two trays. We did not use the two removable dividers in the base that came with the box.
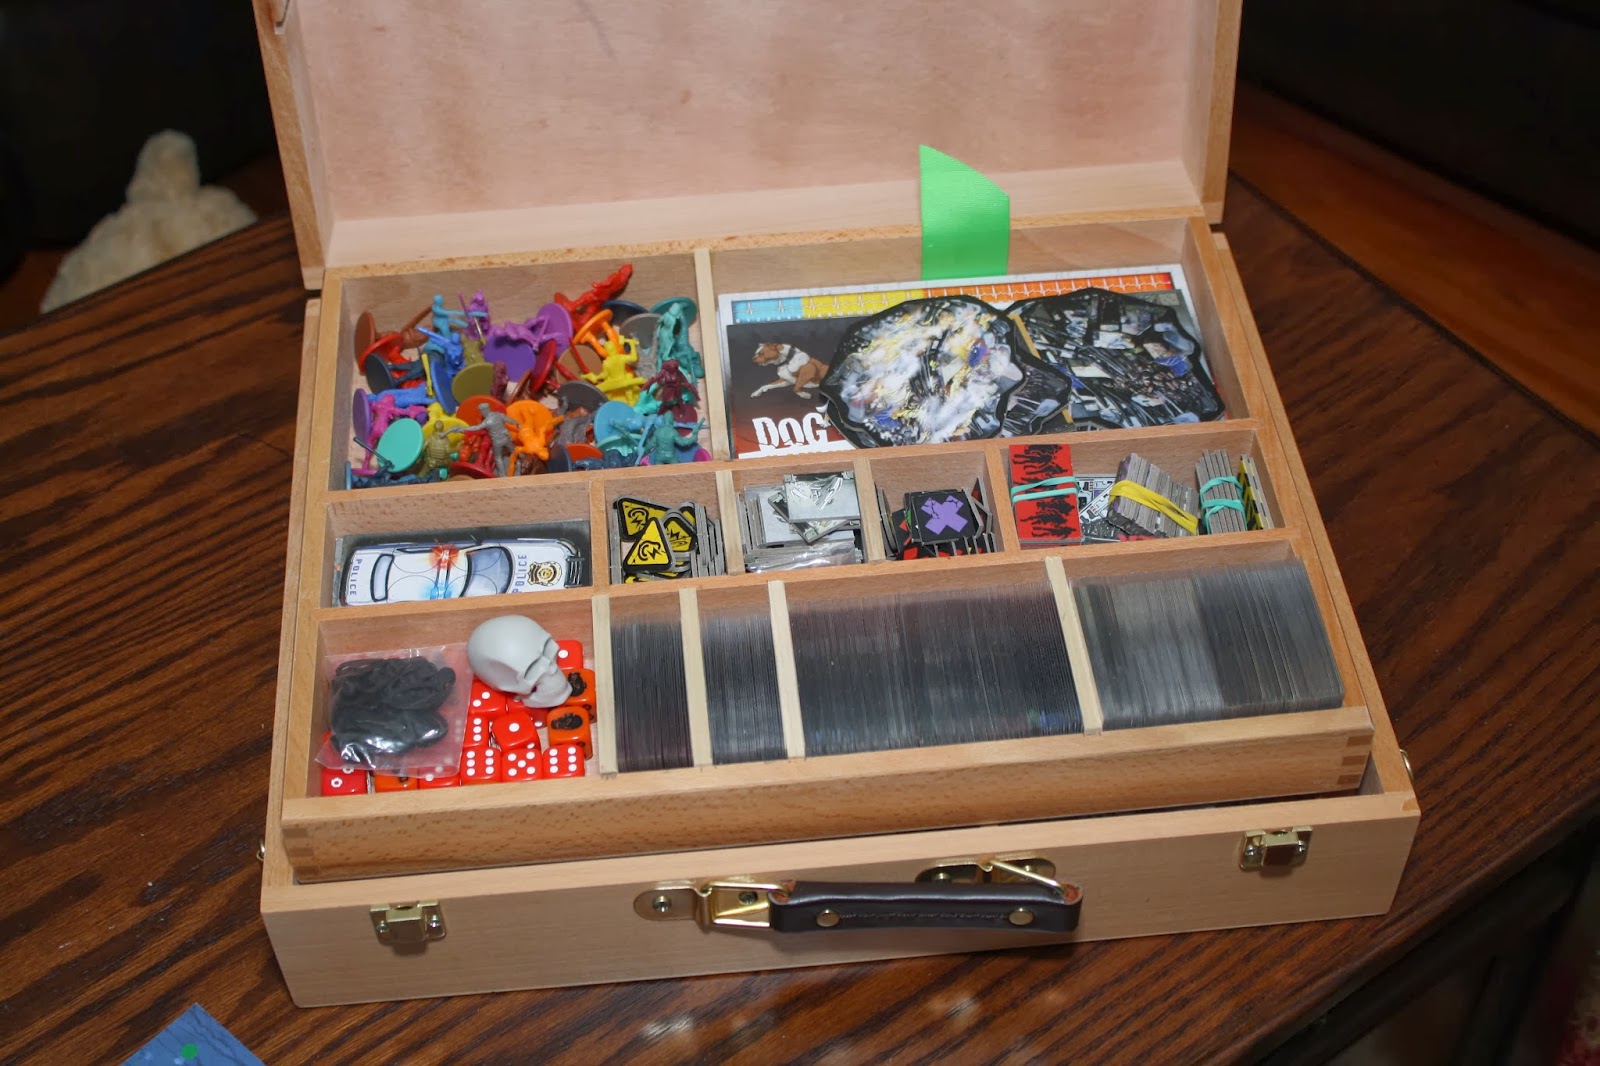
Our zombies and tiles went in the bottom of the box. We sorted the zombies by walkers, runners, fatties and dogs. Since our Zombies aren’t painted it’s easy enough to pick out the Toxic (green) and Berserker (brown) zombies even though they’re mixed in with the regulars.

All the other smaller pieces were sorted into the top removable tray.

In the slots holding the tiles and survivor cards I glued ribbon to one edge on the bottom to make it easier to remove them. Since they fit perfectly there was no easy way to remove them once we dropped them in place.

Now maybe we’ll be a little more motivated to play more often.
Hi,I started looking for a way to condense my Zombicide collection and I came by this post. Very nice. I have a few questions though. What wood did you use to make your own dividers (size, type, where did you get it)? How did you attach the new dividers? It looks like you cut small trenches to stabilize the intersecting dividers. Did you use a special tool for that? Forgive me, I am not familiar with handycraft. Thanks
Hi, so glad you found it helpful. I couldn't find too many options out there when I was looking. In the upper tray I kept the insert that came and bought 1/4in x 1 1/2in piece of poplar (in 2 or 4ft length), so all I had to do was cut the board length wise to make my additional dividers. For the lower compartment I used 1/4in x 2in poplar to make all the dividers. I tossed the removable ones that came in it. I just used wood glue to secure all my dividers. Hope this helps, sorry for my slow reply 🙂
Hi, nice work, I like it.In the photos appear that the cards are laminated or covered with a sleeve. What method do you use to protect them?:)
We ordered card sleeves from Amazon: http://www.amazon.com/Clear-Sleeves-Standard-Card-Game/dp/1589945158/ref=sr_1_3?ie=UTF8&qid=1444187525&sr=8-3&keywords=game+card+sleeves